
Last Updated on March 3, 2024 by Ali Hamza
Do you have a wealth of information and are ready to share your thoughts with the world? Yes! Well, you are all set to enter the blogging world. WordPress is the creative outlet that can give your ideas new wings and help you make a lot of money. If you are a novice and thinking about how to use WordPress like professional Toronto WordPress Developers, then this post is for you. Here we will discuss step by step guide to creating a free blog using WordPress.
But before that…
Why WordPress?
Whether you are from a high-tech background or not, WordPress is very easy to use. This user-friendly and open-source platform not only helps you in posting your blogs but also helps in boosting SEO rankings with SEO plugins. It uses plugins like Yoast SEO to assist you in internal linking, meta description, etc.
Now we will see how you can create your free blog on WordPress.
Create Your Free Blog in Five Easy Steps
Here are the quick steps for you:
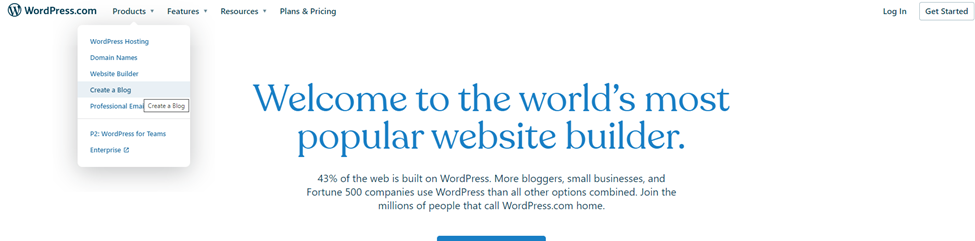
Step 1: Visit WordPress.com
Visit WordPress.com and go to the “Create a blog” option in the Products menu.
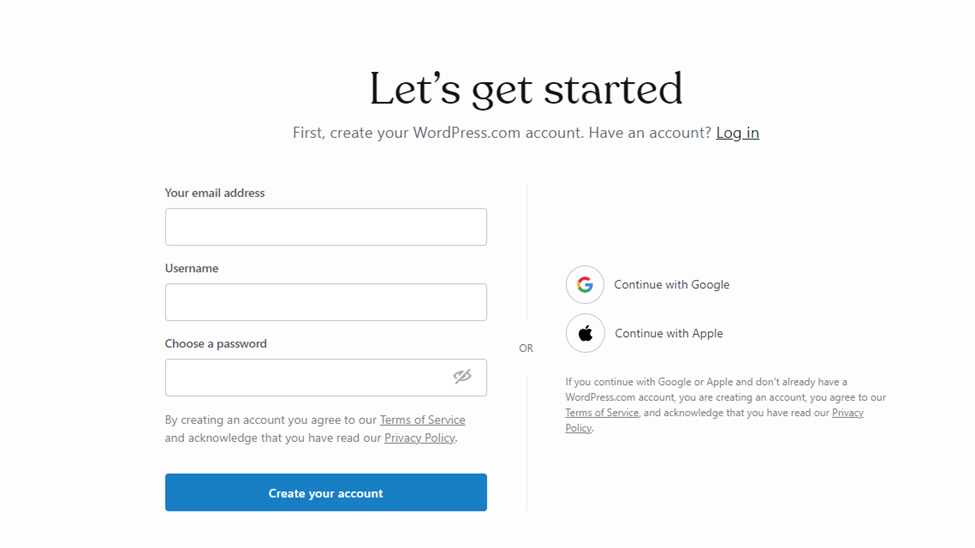
Step 2: Create your account
Click on “Start your blog,” and it will navigate you to create your account.

Enter your account creation details like email address, username, and password to create your account. You can even log in with your accounts on Google or Apple.
Step 3: Select Domain Name
Now you need to select the domain name as it is a crucial part of creating your blog post. It is the name with the help of which users will visit your website. Along with boosting your branding, it will also increase your SEO too.
Here we need to mention, to keep your domain name simple so that it can easily describe or represent your brand. Moreover, you can even write your name if it’s not under any brand.
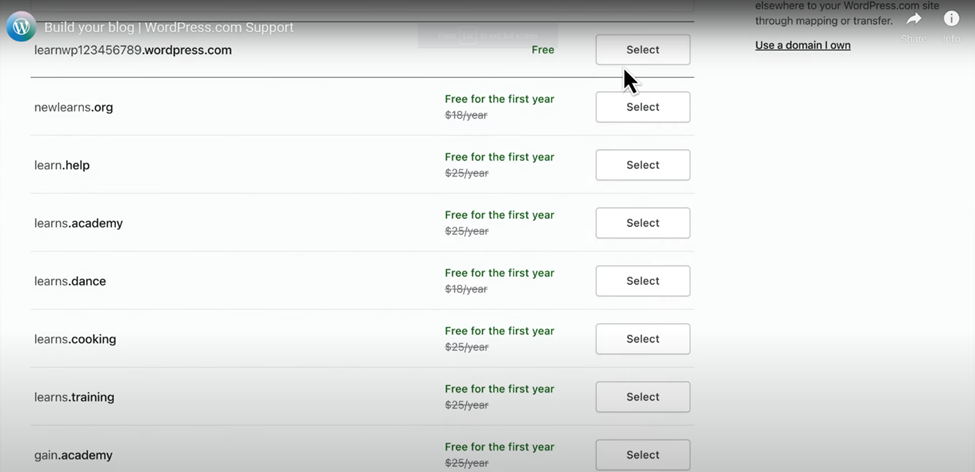
Here you get two options. Either you can select the plan to proceed or can even start with a free site but with limited features.

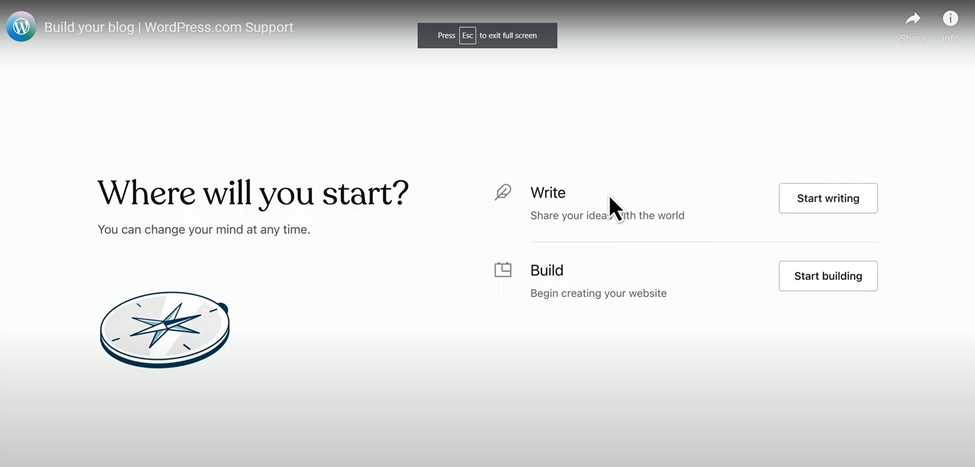
Step 4: Write Post
Now select the “Write” option to start writing your post.
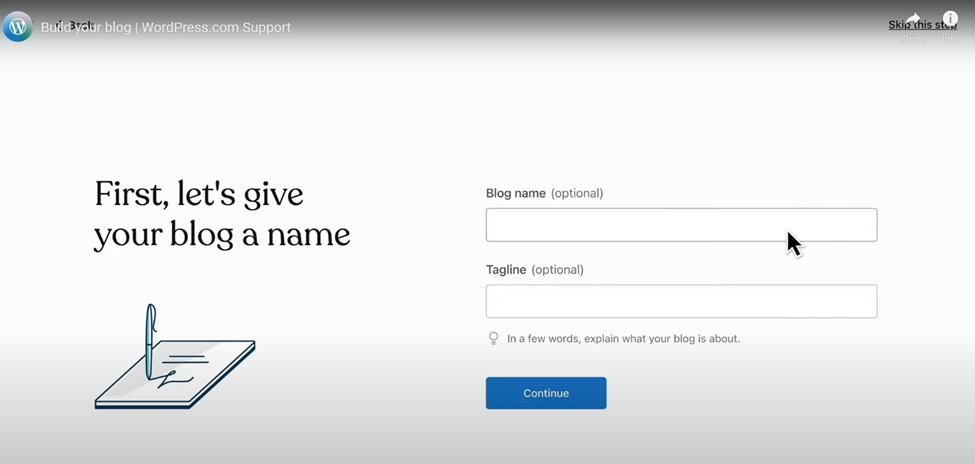
You can enter the unique blog name like professional Toronto WordPress Developers giveand tagline and click on “Continue.”
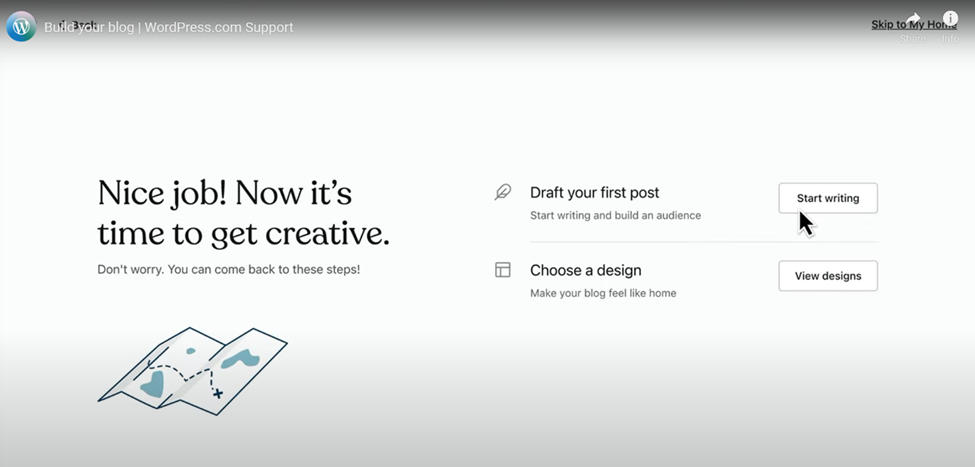
Now you are all set to draft your first post once you click on the “start Writing.”
Now from the dashboard, go to the “posts” option and select “add new.” It will allow you to write your new post.
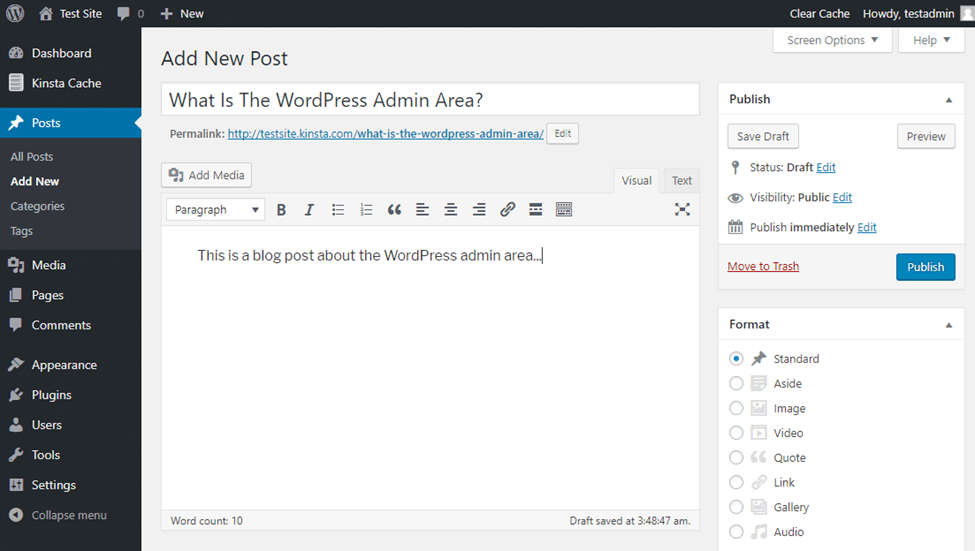
Begin drafting your post by adding a title and then the post’s content. Adding new blocks can add images, audio, etc., to your content. Here you also get the option to change the blog theme and add it through the options:
appearance à themes à add new
Step 5: Preview and Publish Post
Once you have added all the content and images and also with the theme change, you can save a draft and preview it. The moment you are satisfied with the post settings and images, you can make your blog live by clicking on the “Publish button.” You can even schedule your post and publish it later. You can get this option in the settings button next to “Publish.”
With this step, your first free blog gets published.

Summing-Up
Creating a free blog using WordPress is an easy task. Just follow the steps discussed above, and it will be done within minutes. Once you are done with your first free blog, you can even try other themes and new plugins to make your next posts eye-catching.
Apart from this if you are interested to know about Basic Requirements For WordPress then visit our Digital Marketing category.


: Dave Portnoy Net Worth, Family, Career and Everything You Need To Know")


: Dave Portnoy Net Worth, Family, Career and Everything You Need To Know")


