
Last Updated on December 21, 2022 by
Become an expert at sewing machine threading. Let’s make it our New Year’s resolution to pick up our sewing machines and get sewing again. It looks like an awesome idea, but when have you last considered doing a little machine sewing or trying to thread a sewing machine?
Sewing machines must be threaded correctly to work properly. Be ready to begin sewing all over again after you dust off your machine and pick yourself up. Make your sewing machine relationship easier by including a few clever tips. It can be intimidating for new sewers to thread their sewing machines, and even put them off sewing altogether. You’ll find that threading your machine becomes a habit and gets easier each time after you learn it once.
What to do before you start:
- If you have a sewing manual, check it first. Diagrammatic instructions on threading your particular machine should be included. The following article contains links to sewing machine manuals you can download online if you have lost your manual.
- Make sure the bobbin is filled with the thread color you intend to use (read how to wind bobbins)
The ten steps to threading a sewing machine:
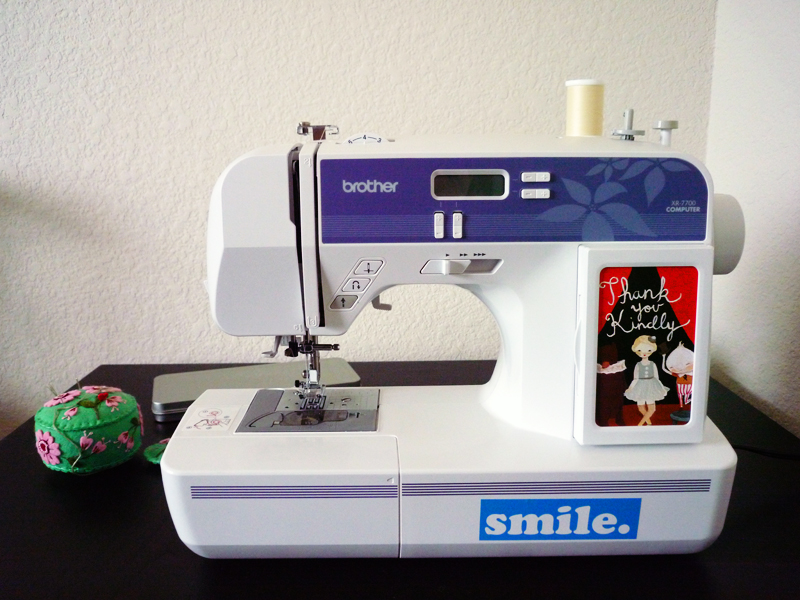
Step 1: Spool the top
At the top of the machine, put the cotton on the spool. You may have an upright or a lying-down peg, depending on the model of your machine. To keep the spool in place and to prevent it from flying off the top once your machine is running, you might need to put a plastic disk over it.
Your thread spool should be placed on the spool pin at the top of the sewing machine. Counter-clockwise rotation of the spool is needed to release threads.
Before you place your thread spool, consult the diagram on the top of your machine. It is common to find a small diagram at the top of some machines that indicates where the thread spool should be positioned
Step 2: Thread the machine
Use a thread guide at the top to thread. It is rather large on the Brother machine. Often, a knob will act as the thread guide. To wind the thread, grasp the thread and pull it from the sewing machine. Then wind it around the bobbin winding tension disc. There’s part of this sewing machine above the needle, on the opposite side. There may also be a small wire attached to the disc that holds the thread in place.
Step 3: Wrap the knob around
Wrap the thread around the tension discs below as you pull it down towards you. Next, thread your bobbin with the end of the thread. Once you have secured the thread around the bobbin, wrap it around it approximately four times.
- For those who don’t want to thread their own bobbins, pre-tied bobbins are available in craft shops.
Step 4: A second guide to threads
After rerouting the thread into the second guide, pull it back up again. A take-up lever has an eyelet, which is commonly known as the lever. By connecting the thread to the eyelet, a U shape is formed.
Step 5: Over the Needle Hook
Bring the thread down to the needle after securing the thread with hooks. If your machine has a bobbin winding button, press it to begin winding the bobbin for a few seconds. Wrapping the thread around the bobbin in this manner will ensure a secure fit. Once you have rotated your bobbin several times, you can cut off any excess thread that has stuck out.
Step 6: Prepare the Needle
Embroider from the front to the back with the needle. Toward the bottom of the article are tips on how to thread the needle if you’re having trouble. Alternatively, you can turn the winder back on and apply gentle pressure to the floor pedal once more, so it can fill the bobbin completely. The winder may automatically stop spinning when it reaches full capacity, but if not, stop when the thread reaches the edge of the spool.
Step 7: Insert the bobbin
According to the instructions in the manual and the type of bobbin you have, load your wound bobbin. A removable bobbin case is found on some machines, while others have the bobbin inserted directly into the machine. The needle should hook up with the bottom thread by turning the flywheel (big wheel on right) towards you.
Step 8: Connect the bobbin and the top thread
Bring the bobbin thread loop to the top by pulling on it. Ideally, you would use tweezers to pull it out. Right beside the spool pin, you’ll find the machine’s spool pin. In this case, it’s the largest pin. Take a small piece of thread and pull it away from the spool pin.
Step 9: Pull the threads over the back
- Pull the two threads gently to the back. While pulling the threads, make sure any movement is free. If the thread comes from below the spool, it should be more stable.
- The machine diagram will help you find the spool pin for your machine and where the thread should be oriented in relation to the spool pin.
Read More: How to Unclog a Catalytic Converter? All The Important Information About Catalytic Converter
Step 10: Test with a scrap
You want to keep the top and bottom threads from tangling as you sew, so hold your threads gently at the back while you sew. To connect with the feeder mechanism, lower the foot to help steady the fabric.
Additional Tips:
The threading of the needle can only be a challenge after you learn the basics of threading. Cotton passes through a needle’s eye more easily than anything else?
Generally, a simple task, but if you are in the stage of life where you need reading glasses and your sewing machine needle is not always in the light or as close as it should be to your point of vision. There is a socket in your machine where you set your needle with its little eye. After you thread the machine, you must place the needle in the socket.
There are some moves in action sports that require threading a needle. Do sewing moves fall under action sports an opportunity, hopefully not too dangerous, to begin something new.
Is threading a sewing machine spindle a secret?
It should be simpler to see precisely where you’ll be trying to enter the thread if you place your fingers behind the needle’s eye. While leaving a few millimeters of thread protruding from the needle, keep the threads as close to the conclusion as you can.
Apart from this if you are interested to know more about Machine Price List in India then visit our Business category.


: Dave Portnoy Net Worth, Family, Career and Everything You Need To Know")


: Dave Portnoy Net Worth, Family, Career and Everything You Need To Know")


